Live conditions
Where is it calm?
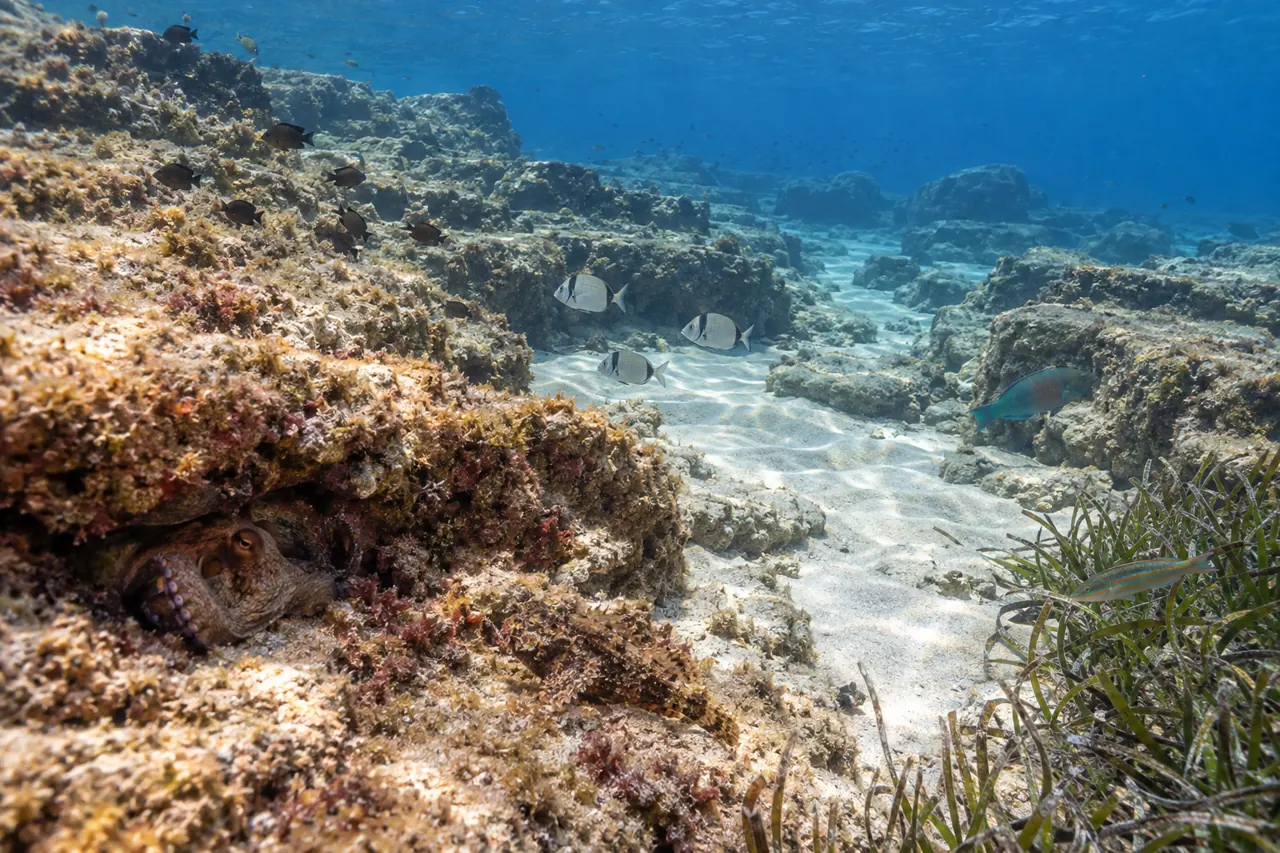 Digital Render
- 167Good
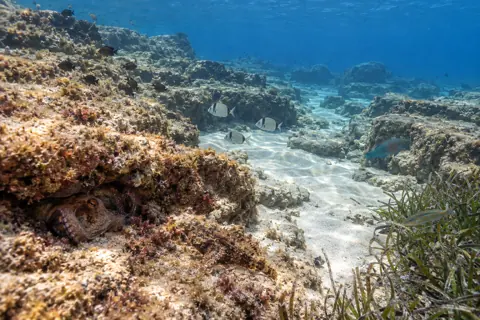 2.1 m · 39 WNW
East Reef
Delimara, Malta · 5 to 25 m
- 267Good
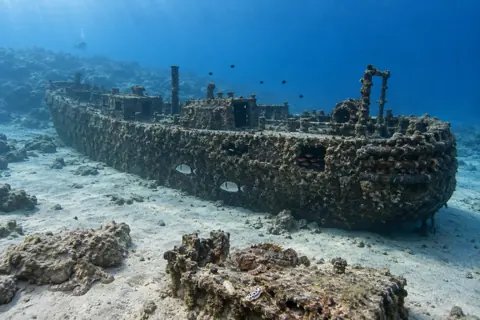 2.1 m · 38 WNW
Tugboat 10
Marsaskala, Malta · 20 to 24 m
- 361Marginal
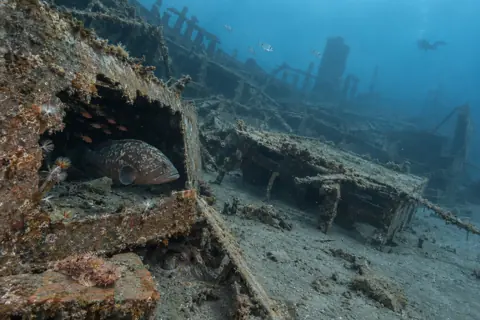 2.3 m · 43 W
SS Margit
Malta · 16 to 24 m
- 461Marginal
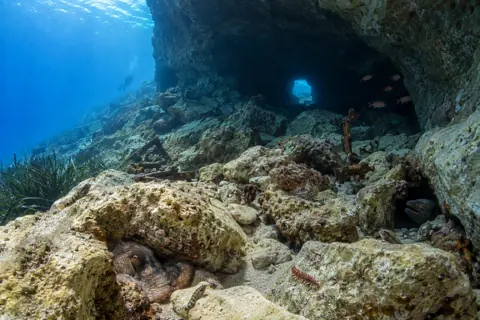 2.3 m · 43 W
Submarine Pen
Malta · 18 to 30 m
- 559Marginal
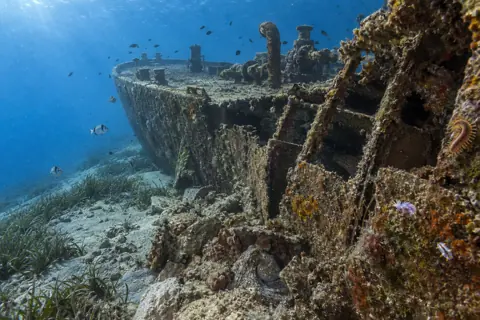 2.4 m · 42 W
X127 Lighter
Malta · 8 to 25 m
- 659Marginal
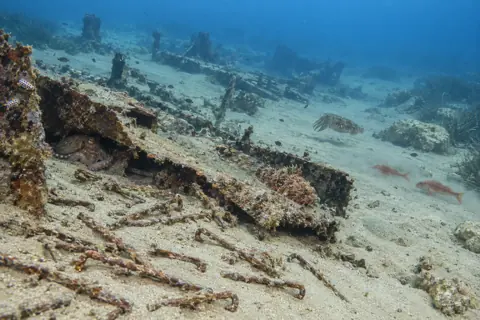 2.4 m · 42 W
Tent Peg Wreck
Malta · 15 to 20 m
- 759Marginal
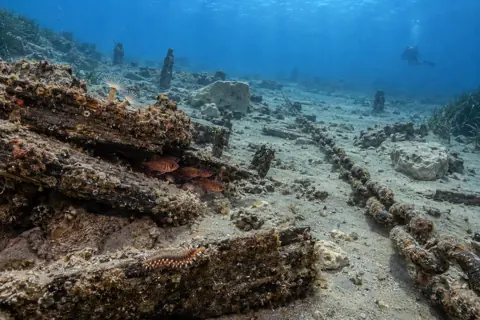 2.4 m · 42 W
HMS Greetham
Malta · 15 to 17 m
- 856Marginal
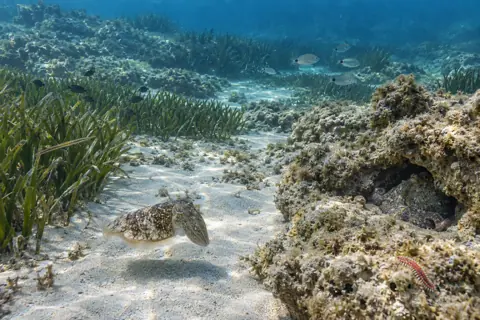 2.6 m · 44 W
Qawra Bay
Qawra Point, Malta · 2 to 10 m
- 953Marginal
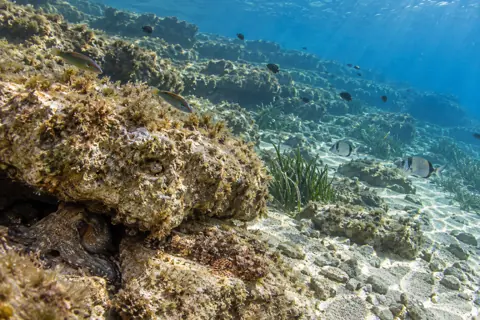 3.2 m · 39 WNW
East Reef
Ras il-Hobz, Gozo · 5 to 20 m
- 1048Marginal
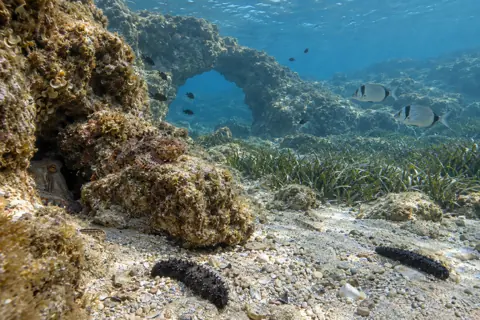 2.7 m · 60 WNW
Slugs Bay
Malta · 5 to 10 m
- 1148Marginal
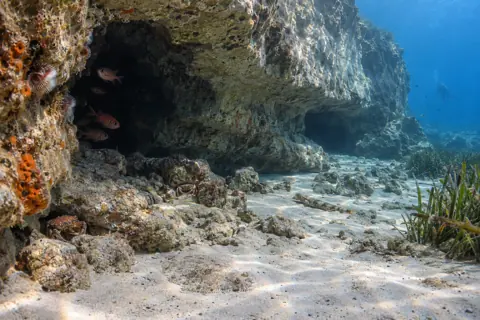 3.5 m · 39 WNW
Kantra Caves
Mgarr ix-Xini, Gozo · 6 to 14 m
- 1247Marginal
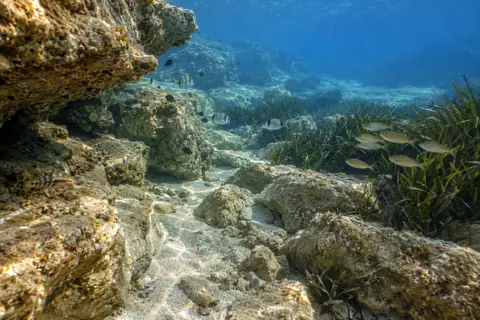 2.9 m · 60 WNW
Ġebel tal-Ħalfa
Gozo · 25 m
- 1346Marginal
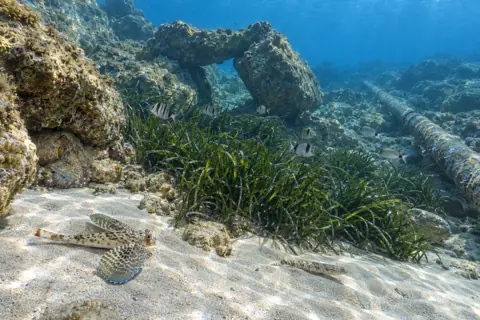 2.9 m · 60 WNW
Ħondoq Reef
Hondoq, Gozo · 5 to 15 m
- 1446Marginal
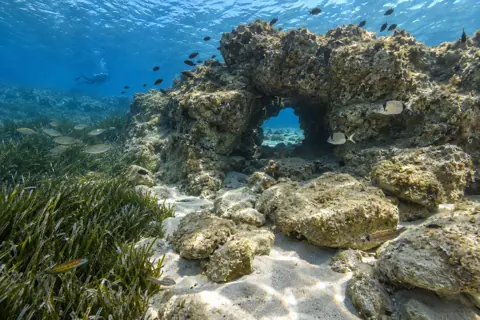 2.9 m · 60 WNW
Tac-Cawla Rocks
Gozo · 5 to 10 m
- 1518Stay dry
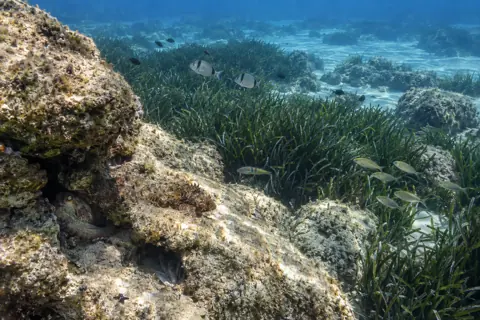 2.1 m · 38 WNW
Xrobb l-Għaġin
Malta · 3 to 15 m
- 1615Stay dry
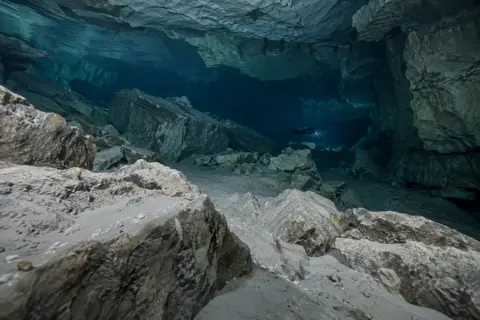 2.4 m · 26 WNW
Harq Hamiem Cave
Malta · 20 to 52 m
- 179Stay dry
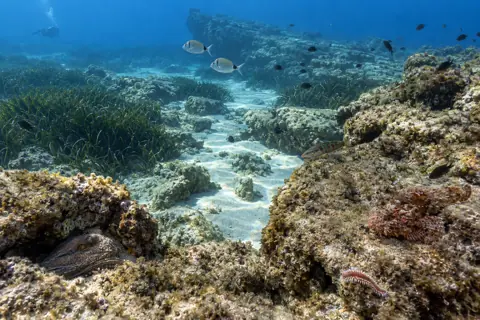 3.4 m · 39 WNW
Middle Reef
Ghar Lapsi, Malta · 10 to 12 m
- 187Stay dry
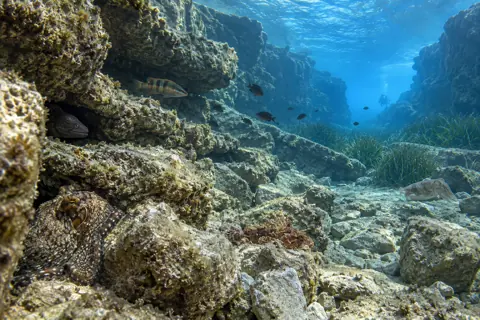 3.2 m · 38 WNW
Valley
Wied iz-Zurrieq, Malta · 3 to 14 m
- 196Stay dry
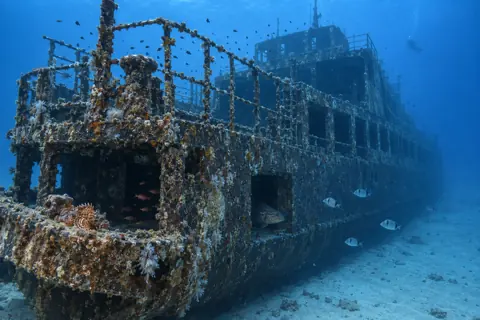 3.5 m · 39 WNW
MV Karwela
Xatt l-Ahmar, Gozo · 30 to 45 m
- 205Stay dry
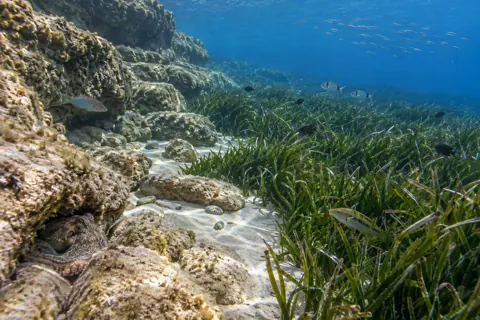 3.6 m · 43 WNW
Daħlet Qorrot
Gozo · 10 m
- 211Stay dry
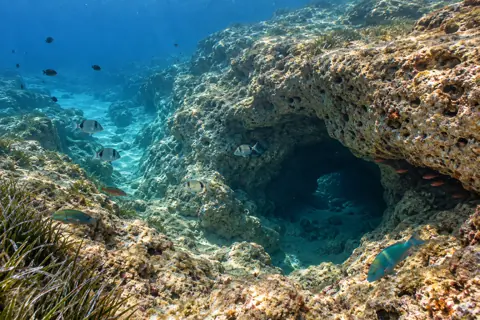 2.4 m · 39 WNW
Xgħajra Reef
Malta · 8 to 18 m
- 220Stay dry
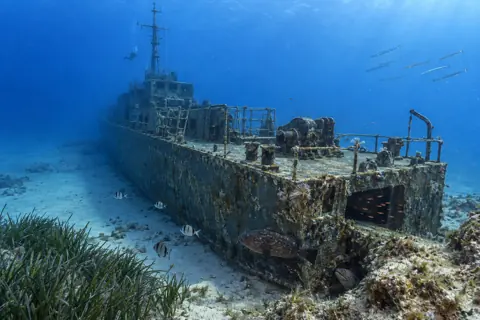 3.5 m · 39 WNW
P29
Cirkewwa, Malta · 20 to 34 m
- 230Stay dry
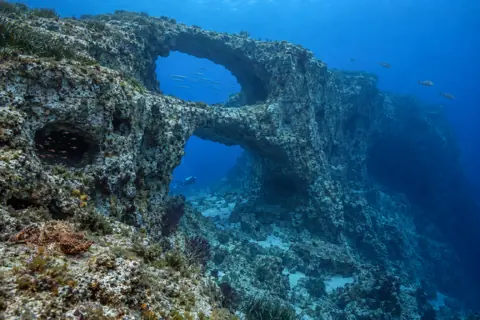 4.7 m · 42 WNW
Double Arch
Xwejni Bay, Gozo · 30 to 45 m
- 240Stay dry
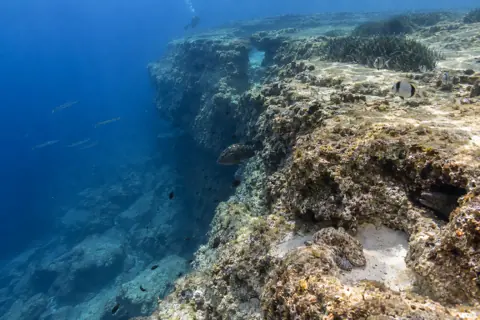 4.7 m · 42 WNW
Anchor Reef
Reqqa Point, Gozo · 15 to 40 m
- 250Stay dry
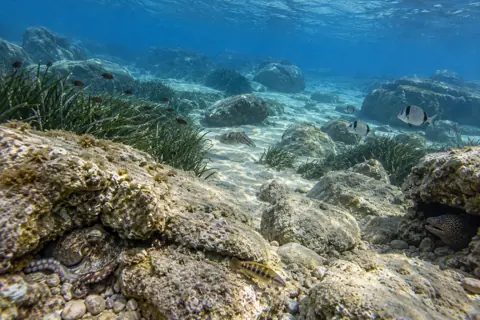 4.7 m · 42 WNW
Marsalforn Bay
Gozo · 3 to 10 m
- 260Stay dry
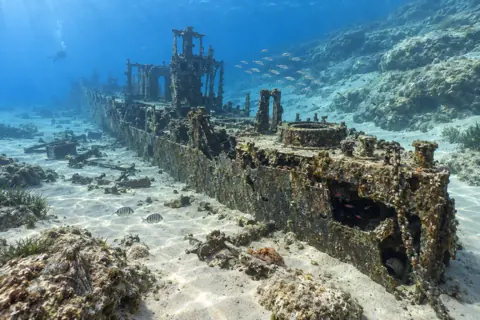 2.5 m · 45 W
HMS Maori
Valletta, Malta · 12 to 16 m
- 270Stay dry
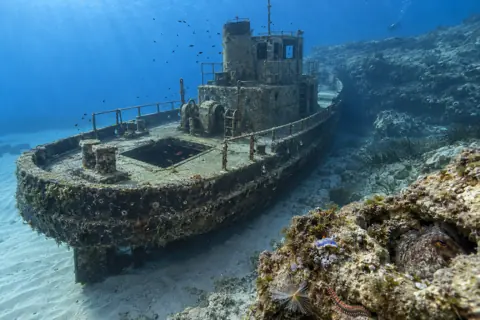 2.5 m · 45 WNW
Tug 2
Exiles, Malta · 15 to 25 m
- 280Stay dry
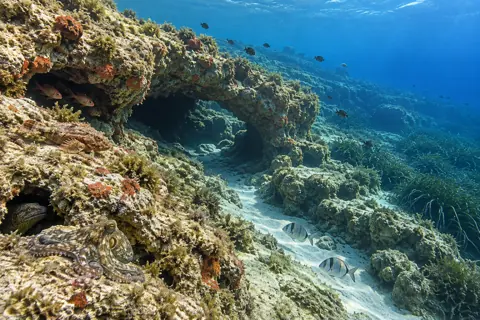 2.4 m · 42 W
Fortizza Reef
Sliema, Malta · 5 to 15 m
- 290Stay dry
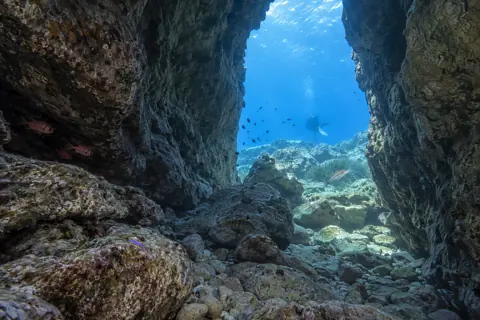 3.9 m · 43 WNW
Inland Sea & Tunnel
Dwejra, Gozo · 18 to 40 m
- 300Stay dry
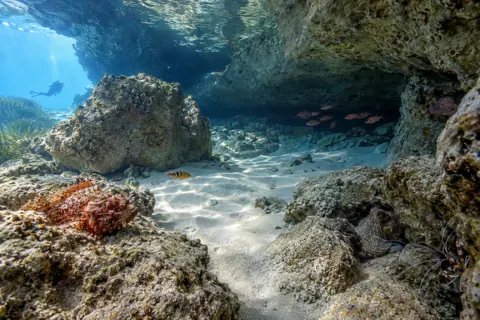 3.9 m · 39 W
Scorpion Cave
Anchor Bay, Malta · 7 to 10 m
- 310Stay dry
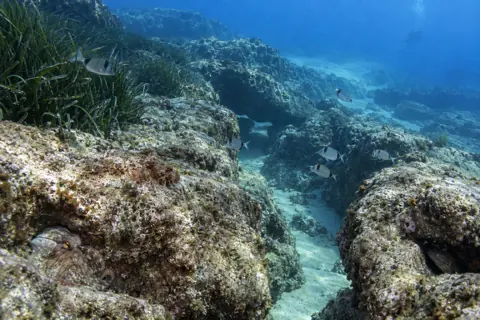 2.9 m · 60 WNW
North Reef
L'Ahrax Point, Malta · 10 to 30 m
- 320Stay dry
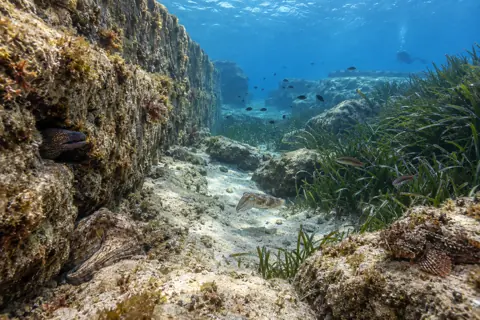 2.6 m · 61 WNW
Sirens
Malta · 6 to 12 m
- 330Stay dry
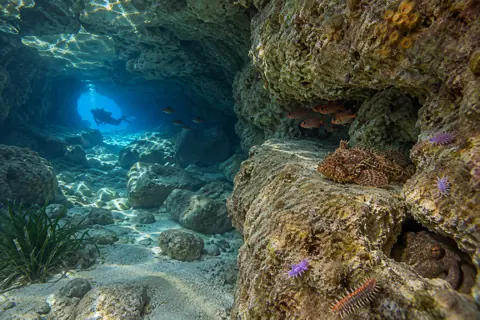 4.0 m · 43 WNW
Xlendi Tunnel
Xlendi Bay, Gozo · 6 to 10 m
- 340Stay dry
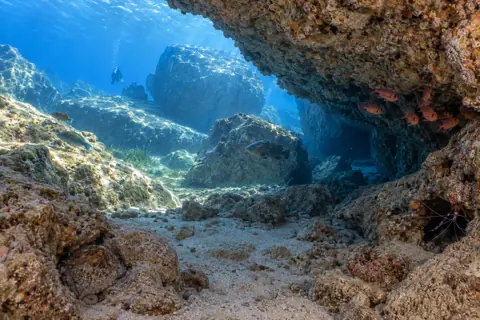 4.7 m · 42 WNW
Cathedral Cave
Gozo · 12 to 30 m
- 350Stay dry
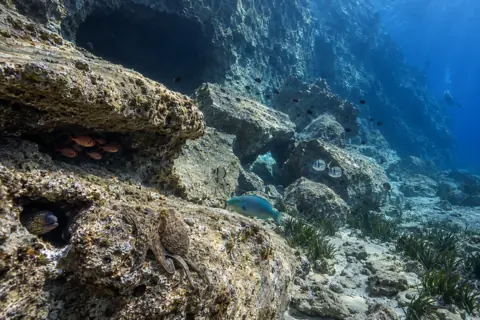 4.7 m · 42 WNW
Ras il-Kanun
Gozo · 10 to 30 m
- 360Stay dry
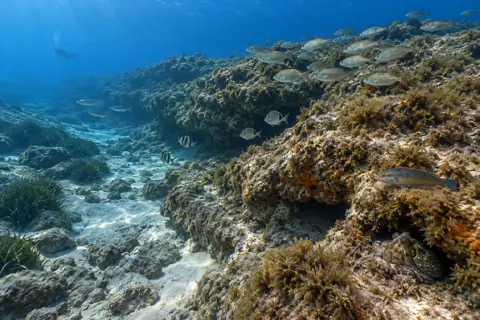 3.1 m · 40 WNW
Santa Marija Reef
Comino · 9 to 21 m
- 370Stay dry
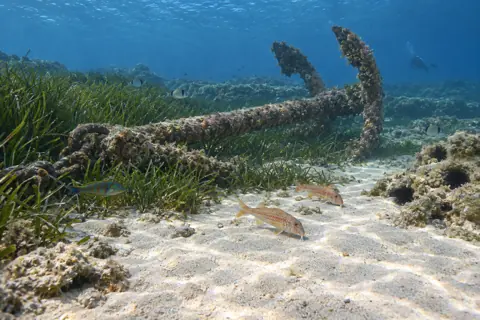 2.9 m · 60 WNW
Armier Bay
Malta · 5 to 8 m
- 380Stay dry
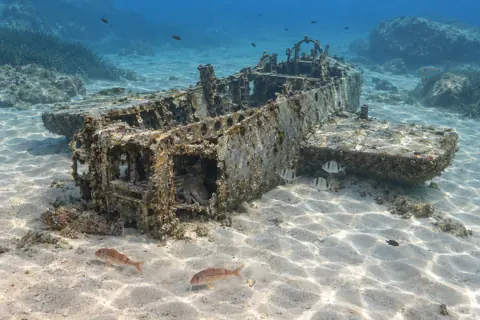 4.0 m · 39 W
Dornier Wal XI
Malta · 5 to 6 m
- 390Stay dry
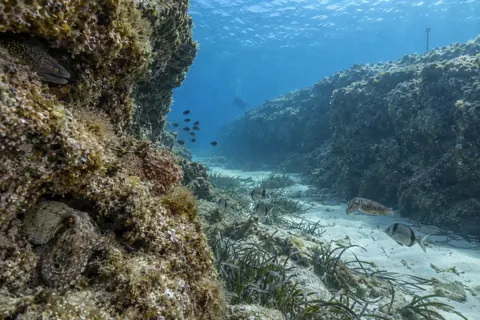 2.4 m · 42 W
Merkanti Reef
Malta · 10 to 20 m
- 400Stay dry
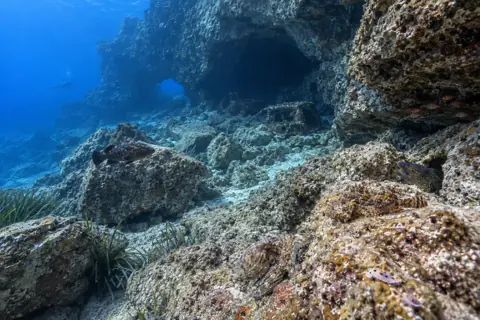 4.1 m · 40 W
Migra Ferħa
Malta · 30 to 60 m
- 410Stay dry
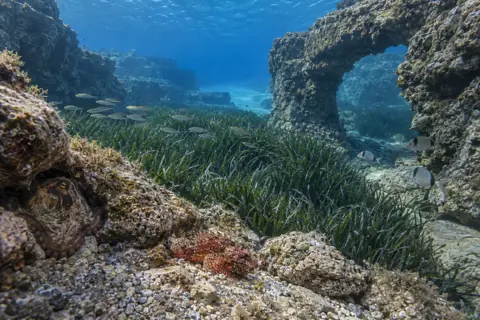 3.1 m · 39 WNW
Benghisa Point
Malta · 4 to 20 m
- 420Stay dry
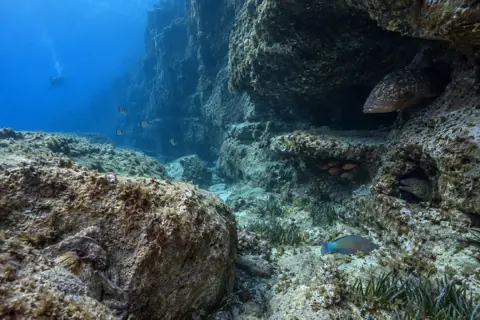 3.9 m · 39 W
Mtahleb
Malta · 30 to 70 m
- 430Stay dry
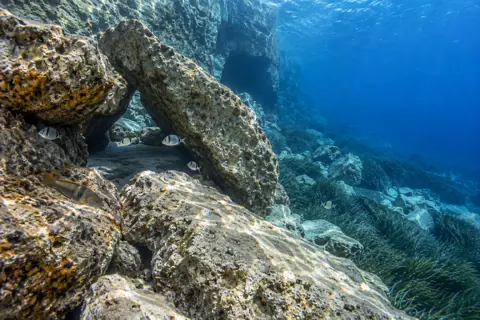 3.7 m · 39 W
Rdum il-Qawwi
Malta · 6 to 45 m
- 440Stay dry
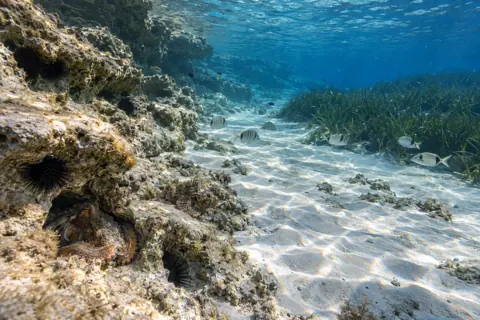 3.2 m · 39 WNW
Blue Lagoon
Cominotto, Comino · 3 to 14 m
- 450Stay dry
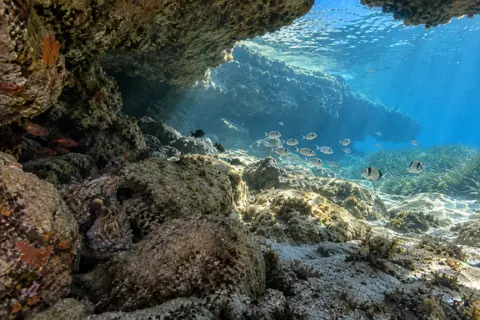 3.1 m · 40 WNW
Comino's Delight
Comino · 6 to 12 m
- 460Stay dry
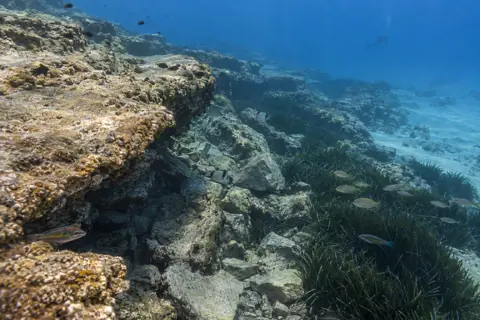 2.5 m · 45 WNW
Dragonara Point
Malta · 15 to 25 m
- 470Stay dry
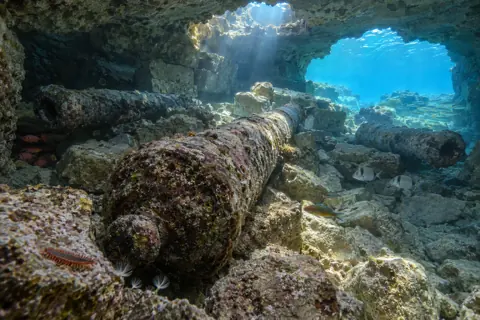 2.5 m · 45 W
Ricasoli Cannons
Malta · 6 to 12 m
- 480Stay dry
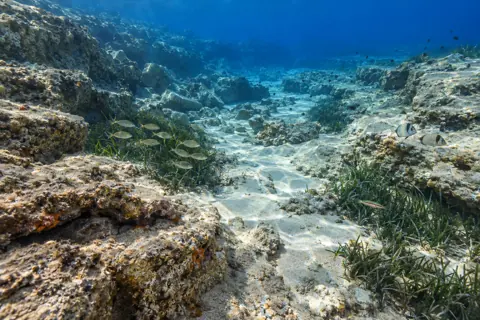 2.7 m · 60 WNW
St Paul's Channel
Malta · 3 to 25 m
- 490Stay dry
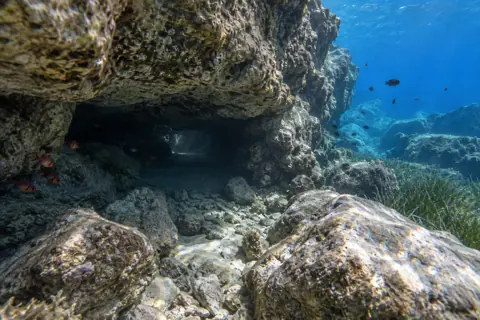 3.4 m · 40 WNW
Wolf Den
Malta · 5 to 10 m
- 500Stay dry
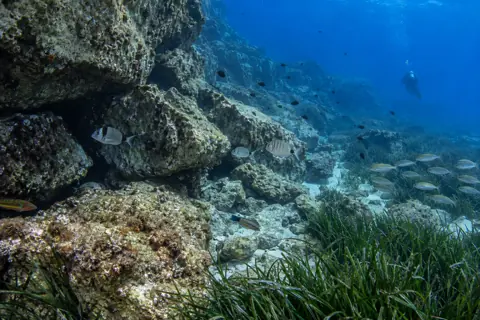 3.6 m · 43 WNW
Mistra Rocks
Gozo · 25 m
- 510Stay dry
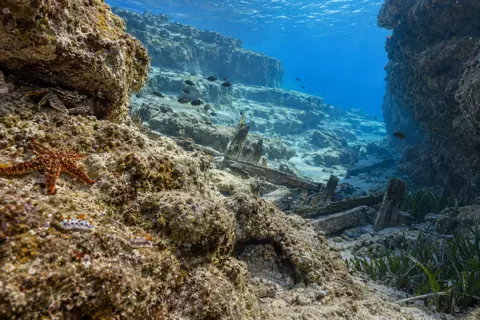 3.1 m · 40 WNW
The Canyon
Comino · 7 to 20 m
Scores blend wave height, swell period, wind and rain against the sectors each site is exposed to. They are a planning aid, not a promise. Look at the sea before you get in.